
7-colour Flash LED Brick
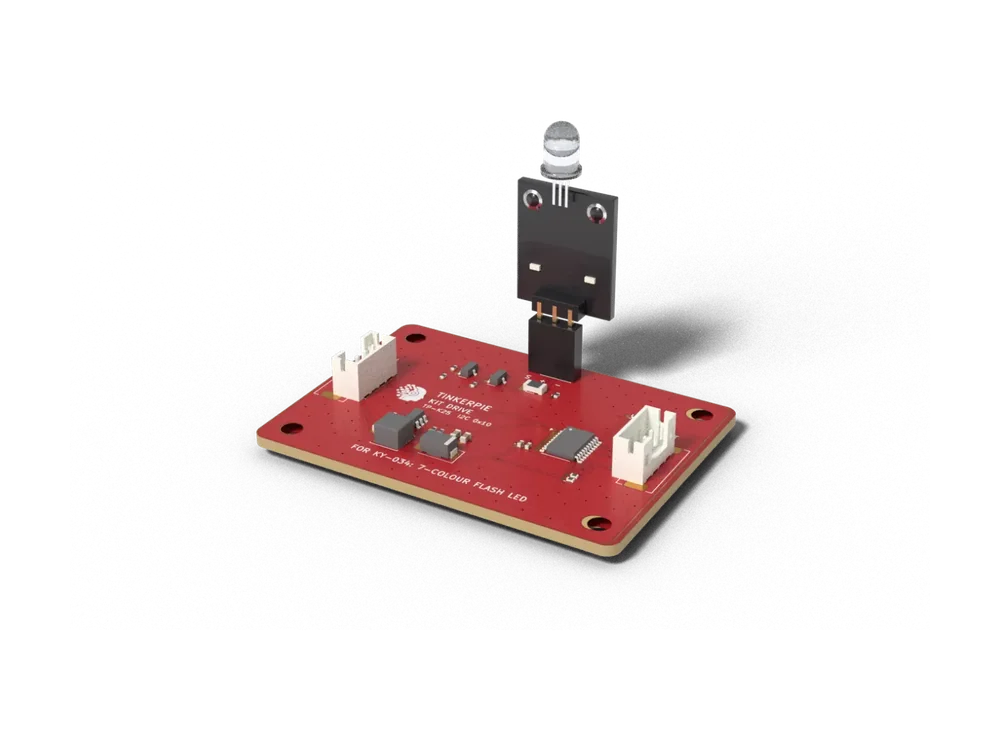
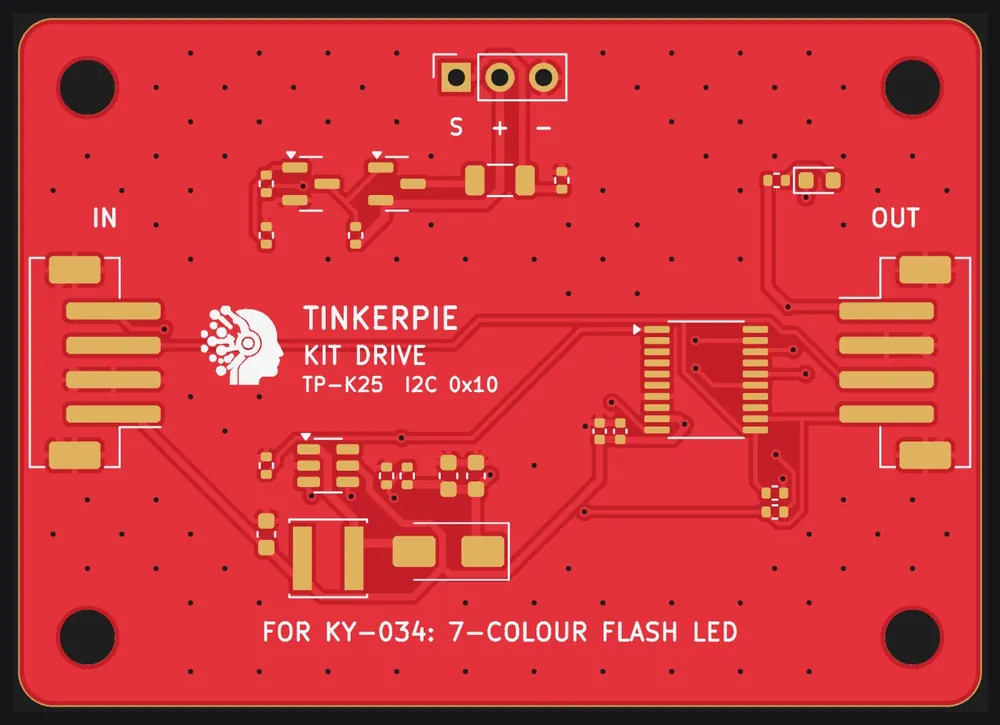
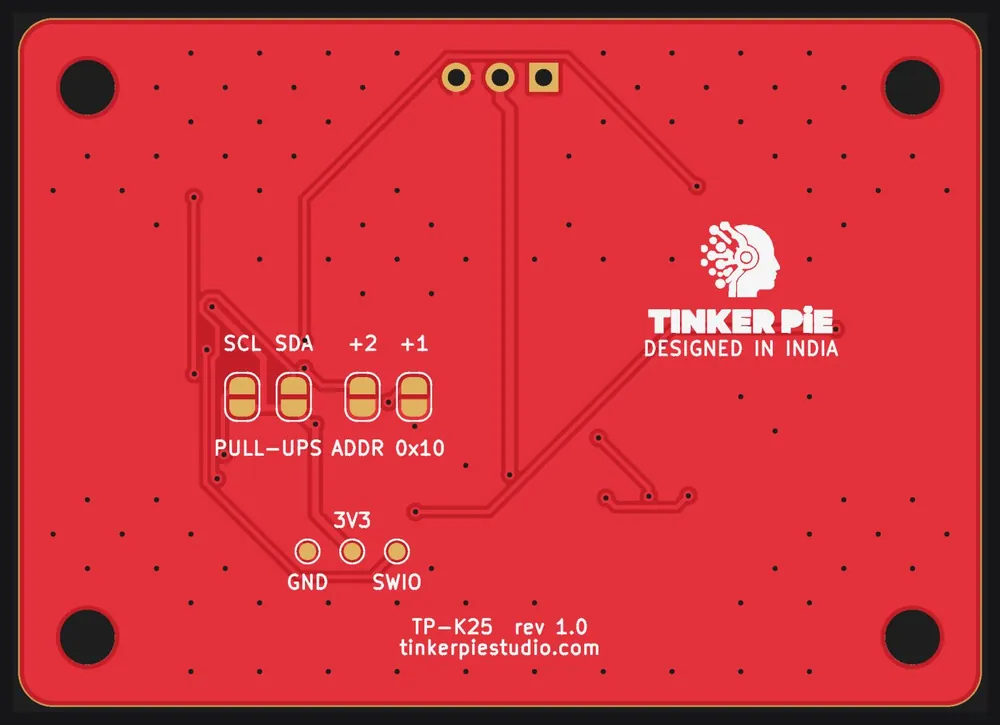
Pictured with the KY-034 kit module plugged in.
Kit Bricks · SKU TP-K25
Self-cycling 5 mm LED: 7 colours on its own.
₹299
Works with TinkerPie V1 · Arduino C++ with the TinkerPieBricks library · Delivery across India: ₹100, 3–7 days · 7-day replacement for damaged or defective kits
About this kit
Self-cycling 5 mm LED: 7 colours on its own. The 7-colour Flash LED Brick is a carrier for the KY-034 module from common 37-in-1 sensor kits: plug the module into the socket and connect one cable to a TinkerPie SENSOR port. A small CH32V003 processor on the brick does the timing work, so your program simply reads the result over I2C.
Features
- On / off from TinkerPie
- Automatic colour show
- Party and alert light
- Plug the kit module straight into the socket – no jumper wires
- One cable to any TinkerPie SENSOR port (I2C), BUS IN + BUS OUT to chain more bricks
- On-board CH32V003 does the timing – your code just reads the result
Specifications
| Kit module | KY-034 7-colour Flash LED (module 25 of the 37-in-1 sensor kit) |
|---|---|
| Socket | KIT DRIVE: 2.54 mm female, S + - |
| Size | 56 x 40 mm, M3 holes on the 8 mm grid |
| Connectors | 2 x JST-PH 4-pin TP-BUS (IN / OUT) |
| Interface | I2C 0x10-0x13 (4 on one bus) |
| Power | 3.3 V port -> 5.1 V boost for the module, S driven by MOSFET (100 mA) |
| Brain | WCH CH32V003 |
| Arduino class | tpb::KitDrive |
How to use it with TinkerPie
- Plug the KY-034 module into the 2.54 mm socket on the top edge. Match the pin names: the brick says S + -, the module has the same letters.
- Connect BUS IN to any TinkerPie SENSOR 1-4 port with a 4-pin JST-PH cable (the same cable as the other sensors).
- More bricks? Plug the next one into BUS OUT. Two bricks of the same type need different addresses: bridge ADDR +1, +2 or +4 on the back (0x10-0x13; the first is 0x10).
- Install the TinkerPie and TinkerPieBricks Arduino libraries, open the quick-start sketch below, choose the board ESP32S3 Dev Module and upload.
Libraries: TinkerPie and TinkerPieBricks (Arduino IDE: Sketch → Include Library → Add .ZIP Library). Full guide: getting started with TinkerPie Bricks.
Quick start
Upload this, open the Serial Monitor at 115200 baud and watch the TinkerPie matrix.
Quick-start sketch (Arduino C++)
// 7-colour Flash LED Brick (TP-K25): quick start
// Reads the brick and shows the value on the TinkerPie matrix and in the Serial Monitor (115200 baud).
#include <TinkerPie.h>
#include <TinkerPieBricks.h>
using namespace tinkerpie;

tpb::KitDrive out;

void setup() {
  Serial.begin(115200);
  tinkerpie::begin();            // also starts the SENSOR ports (I2C bus Wire1)
  if (!out.begin()) Serial.println("7-colour Flash LED Brick not found at 0x10: check the cable to SENSOR 1-4");
}

void loop() {
  out.on();                          // module on
  led::fill(Colors::Green);
  basic::pause(1000);
  out.off();
  basic::clearScreen();
  basic::pause(1000);
}
Project: Party light
Press A for a 5-second party: the 7-colour LED flashes and TinkerPie plays a tune with a rainbow.
Party light (Arduino C++)
// Party light: 7-colour Flash LED Brick (TP-K25)
// Press A for a 5-second party: the 7-colour LED flashes and TinkerPie plays a tune with a rainbow.
#include <TinkerPie.h>
#include <TinkerPieBricks.h>
using namespace tinkerpie;

tpb::KitDrive party;

void setup() {
  Serial.begin(115200);
  tinkerpie::begin();            // also starts the SENSOR ports (I2C bus Wire1)
  if (!party.begin()) Serial.println("7-colour Flash LED Brick not found at 0x10: check the cable to SENSOR 1-4");
}

void loop() {
  if (input::buttonIsPressed(Button::A)) {
    party.on();
    for (int i = 0; i < 25; i++) { led::rainbow(i * 15); basic::pause(200); }
    party.off(); basic::clearScreen();
  }
  basic::pause(20);
}
More TinkerPie Bricks
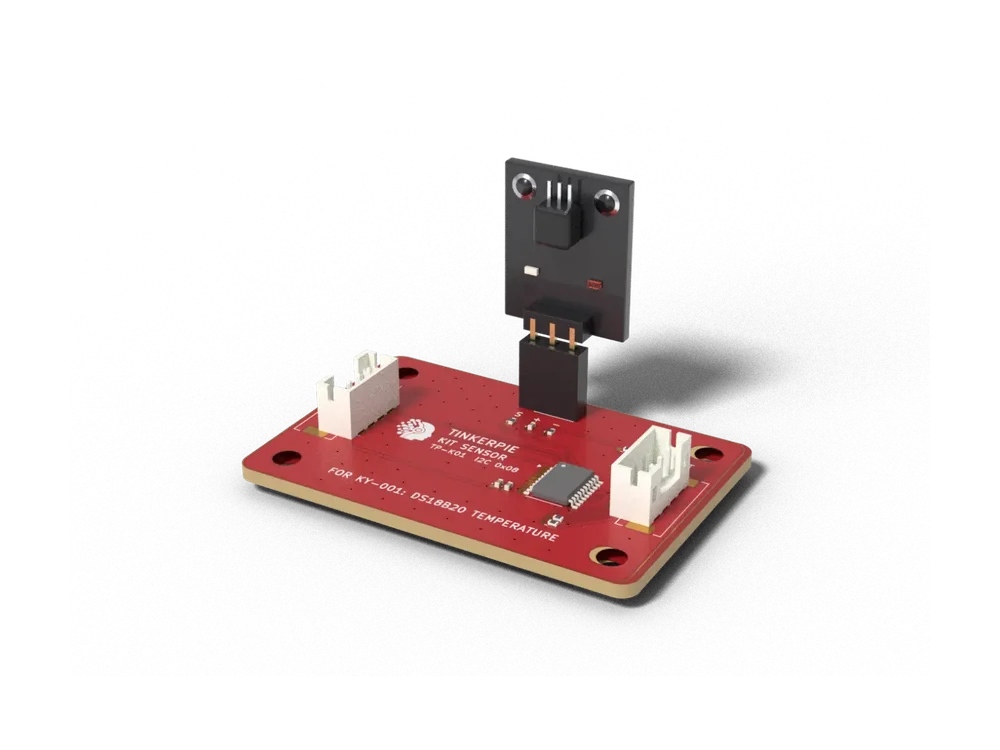 DS18B20 Temperature BrickTP-K01 · Environment · KY-001Waterproof-grade digital thermometer chip, read in C over I2C.₹299Pre-order
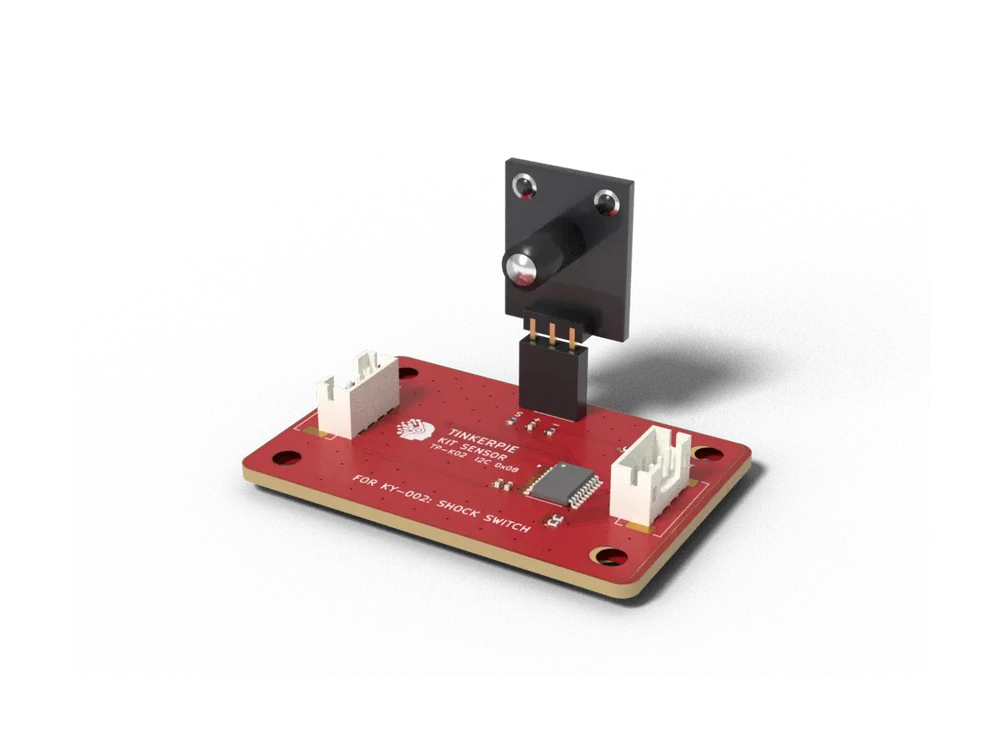 Shock Switch BrickTP-K02 · Motion · KY-002Detects knocks and vibration with a spring switch.₹299Pre-order
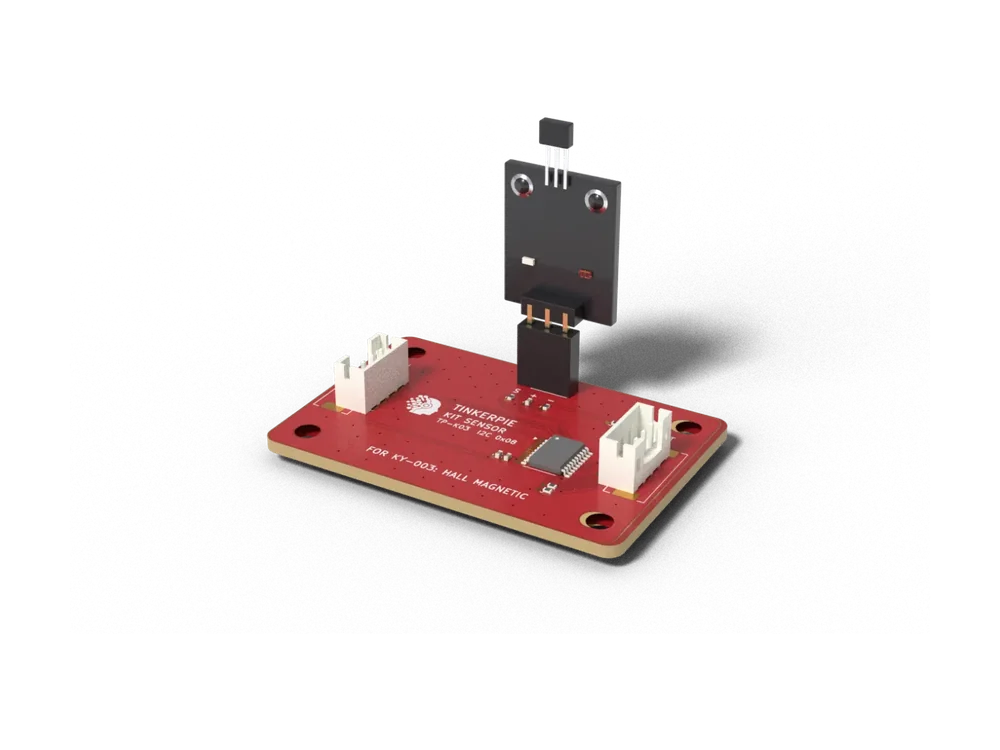 Hall Magnetic Sensor BrickTP-K03 · Magnetic · KY-003Senses a magnet near the A3144 hall switch.₹299Pre-order
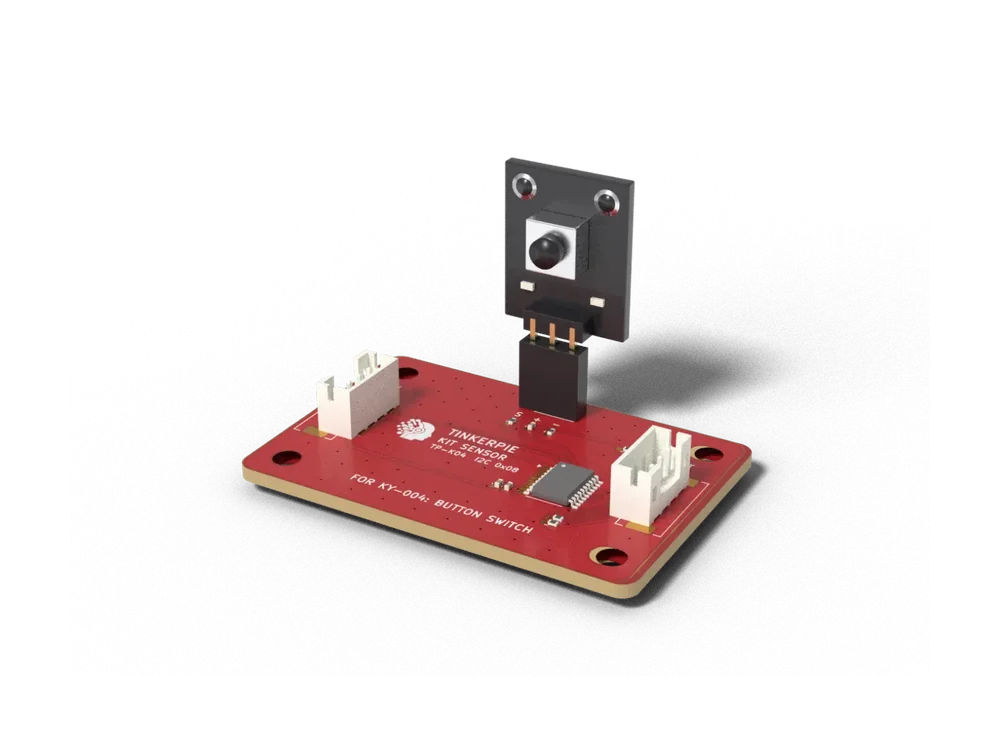 Button Switch BrickTP-K04 · Input · KY-004A tactile push button on the bus.₹299Pre-order